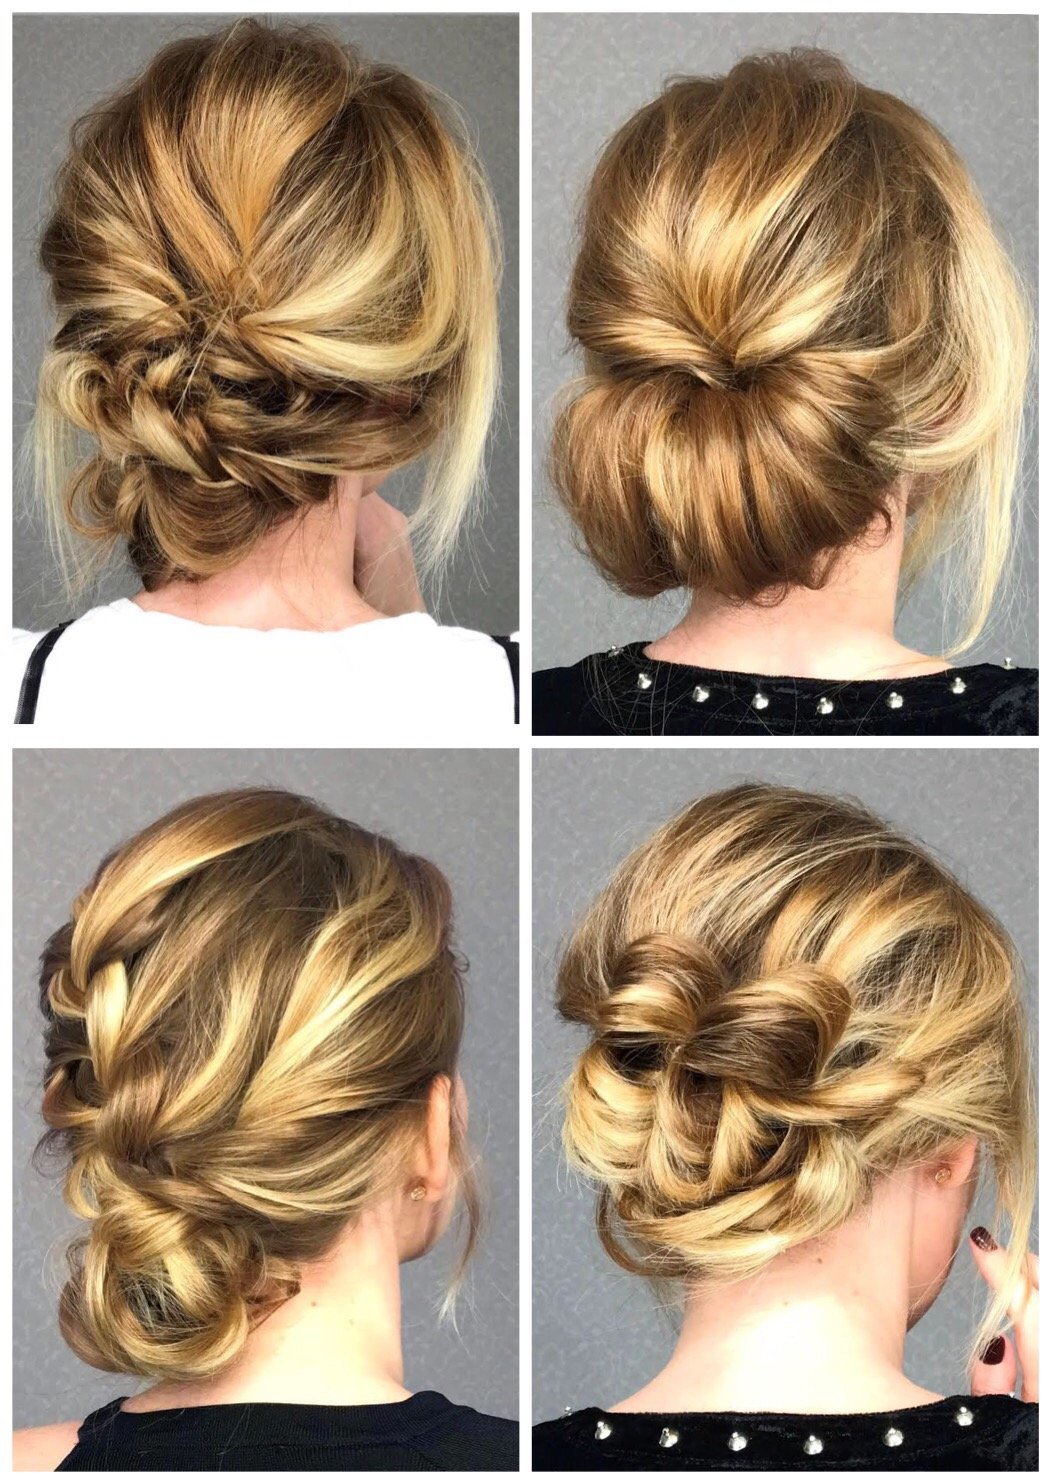
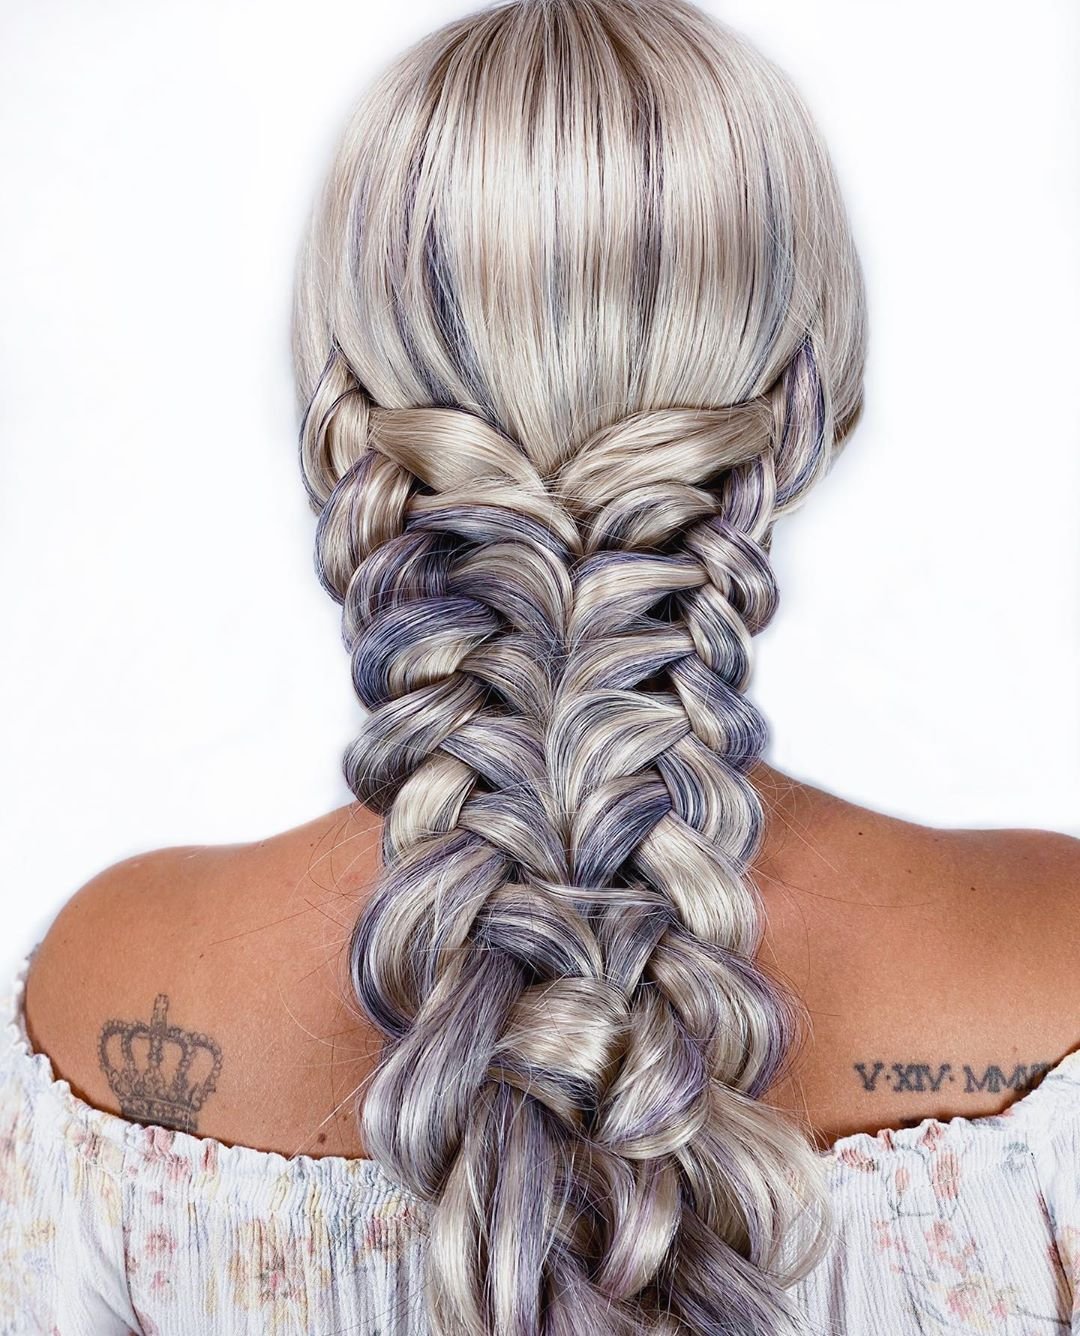
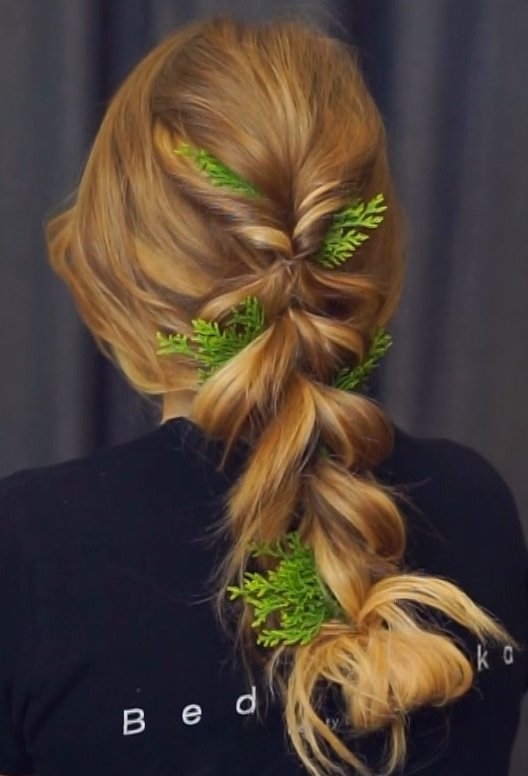
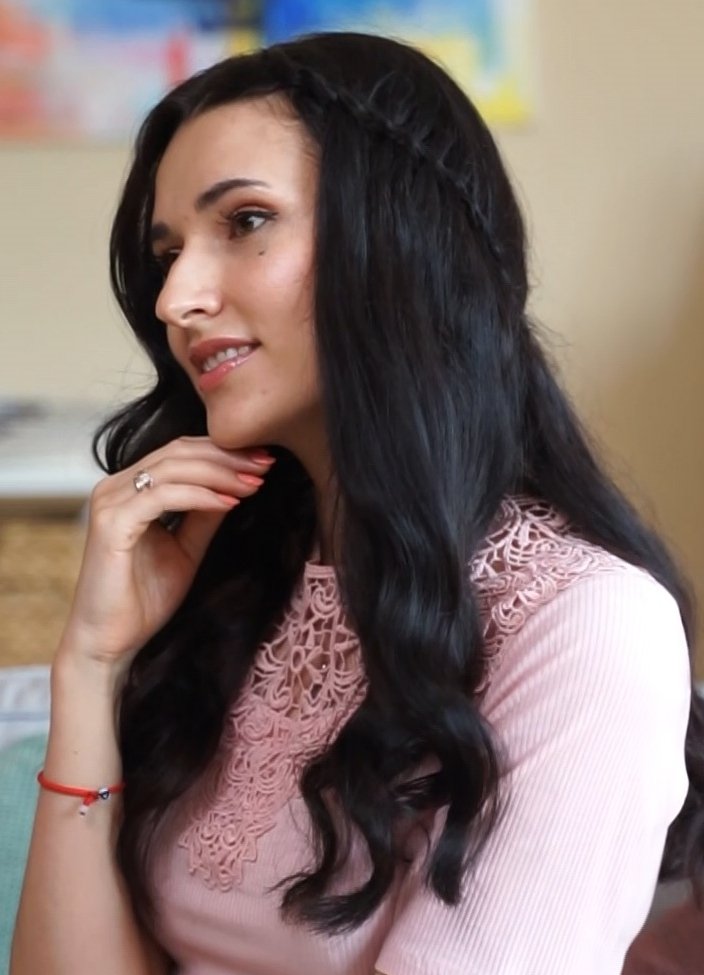
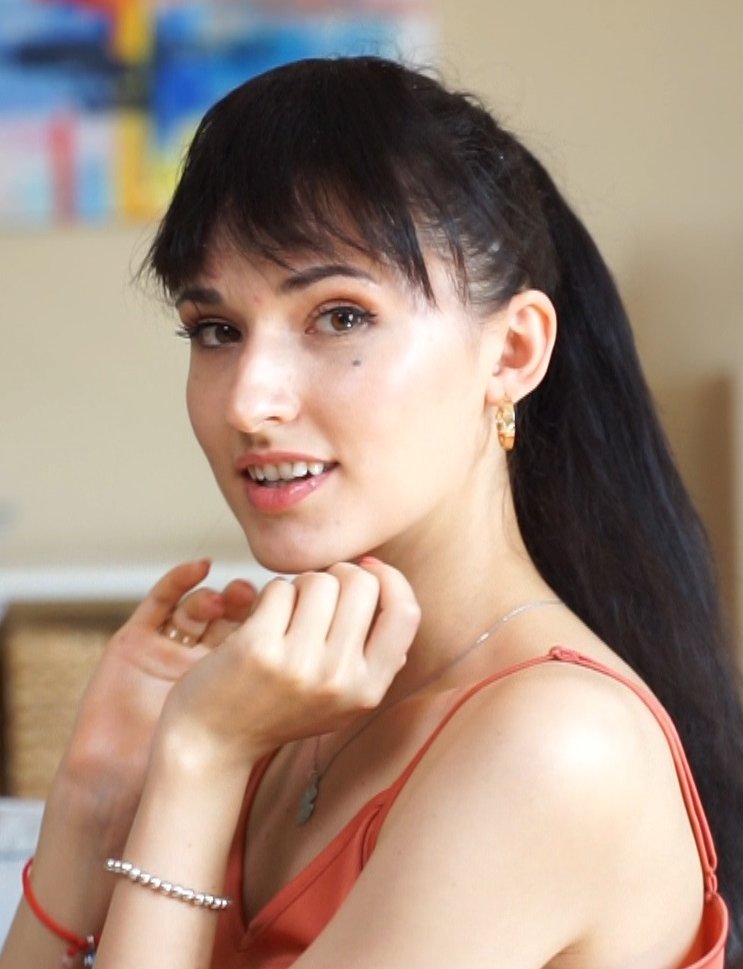
From a workout in the gym to your best friend’s wedding – a stylish bun is versatile and can be the right hairstyle for pretty much any occasion.
While you may rock your usual bun like a queen, just like with any hairstyle, things can get boring and may need spicing up every once in a while.
But don’t worry – there are plenty of stylish bun hairstyles to choose from, and we will show you how you can master 4 new low bun hairstyles today. With our easy-to-follow video tutorials, you’ll learn how to create these unique and stylish updos in just a few easy steps.
Low Braided Bun
There isn’t a better way to add a bit of elegance to your updo than by braiding it first. This super sophisticated loose braided bun can be created in a just few easy steps, with the help of a few hair pins and elastics.

Step 1. Start off by teasing your roots with a fine-toothed comb to give your updo more height and volume. Put your heart into it – the more you backcomb, the longer it will last!
Step 2. Bring back the top part of your hair and fix it with a small hair tie. Use your fingers to make a hole right above the hair band, making sure it’s in the center of the back of your head. Now, let’s ‘topsy tail’ your ponytail – flip it over and into this gap.
Step 3. It’s time to do some braiding! Create two equal portions of the hair, and braid them into two loose braids. Start pulling the braids apart slightly to give it a lush, fuller look – even muss it up a little bit. Full looking braids are guaranteed to give your bun more volume and elegance. Finally, secure both braids with small elastics.
Step 4. Once the braids are done, insert the left braid into the hair you’ve tied at the top of your head, and secure it with a pin. Repeat that with the right braid and secure it with a few more pins. Are you ready for the compliments?
Low Chignon Bun
Ever wondered what made iconic Brigitte Bardot look so sophisticated? It was the low chignon bun, of course.

Step 1. Just like with the low braided bun, start off by teasing your roots to add some much-desired height and volume.
Step 2. Section off the top layer of your hair, leaving all the hair that’s underneath for now. Secure it with a small hair tie, then make a hole in the middle and ‘topsy tail’ it. Pull the braids apart carefully to create a more voluminous look.
Step 3. Take the hair from the sides of your head and tie it below the first ponytail, again making a hole in a middle and pulling it through. Tease the hair that’s down to create more volume.
Step 4. Finally, insert the untied hair into the hair you’ve tied at the top, and secure it with a few u-pins. And – voila!
Low Pull-Through Bun
If you’ve been wondering what the most glamorous hairstyle looks like – we present to you the pull-through bun. It may seem a little more complicated at first, but our step-by-step tutorial will help you master this stylish hairstyle quicker than you think.

Step 1. Take a small section of your hair on the left side of your head, and tie it with a small elastic band, just an inch or two above your neck. Pull the hair you’ve tied apart slightly to avoid it looking flat and lifeless.
Step 2. Take another small section of your hair towards the right side of your head – and tie that with another elastic band. Again, pull the tied hair apart very slightly to give it a fuller look.
Step 3. Once you have the two small ponytails, split the first one into two parts, and pull the second ponytail through the middle. It may be helpful to clip it to the top of your head to get it out of the way.
Step 4. Separate another small section of the hair moving to the right side of your head, but this time add the hair from the first ponytail into that section – and secure it with an elastic band. Then, pull the hair apart on both sides to add more volume.
Step 5. Unclip the hair from the top and do the same thing with the second ponytail: separate it into two equal parts, and pull the ponytail through, clipping the hair to the top. Repeat this until you use up all the hair as you move to the right. We normally do 6 or 7 ponytails – but you can do as many or as few as you like!
Step 6. Once you have secured the final piece of hair on the right with a clear elastic band, pull the hair apart to add volume. Then, braid the remaining hair into a loose braid, mussing it up as you go.
Step 7. Finally, grab the end of the braid and slide it under the bun on the left side, fixing it in place with one or two hair pins. And now – enjoy looking wonderful!
French Braid Low Bun
Another chic and quick hairstyle is the French braid low bun. What we love about this low bun updo with braid is that it’s very simple – yet so classy.

Step 1. Start off by braiding your hair on the left-hand side into a French braid. A reminder for those who haven’t done this in a while: pick up a small section of hair and divide it into three equal parts. Cross the right strand of hair over the middle, and then the left strand. Now cross the right strand over the middle, along with a new section of hair – and then the left strand, along with a new section of hair. Continue with the braid down to the middle of your neck and secure it with an elastic band, leaving some hair on the left side unbraided.
Step 2. Pull the braid apart slightly to create the illusion of fullness. Make sure you pull on the looped sections, so that it doesn’t fall apart.
Step 3. Now, let’s work with the hair that’s left un-braided on the right side. Take one strand of the hair and twist it, then bring in and twist the second hair strand. Finally, twist in the third strand – and place the twisted hair on top of where you secured the French braid previously.
Step 4. Carefully pull at the twisted hair to give the side some more volume. Secure the hair to the French braid at the center of your head with a few hairpins, and fix it all together with an elastic. Make sure the hair tie isn’t visible – that should be easier to do if you use a small elastic.
Step 5. Once it’s fixed, twist your hair from the right side to the left, and pull it apart slightly to give it the illusion of more volume. Twist your hair into a relaxed bun, tugging the ends underneath. Use a few hair pins to fix it in place – ideally, one on the right, and one on the left side – but you can use a few more if you have thicker hair. So simple, yet so sophisticated!
Choose the Right Toolkit
To create these stylish bun hairstyles – and to make them last longer – you may want a little help from the professionals. There are several products that will help you achieve the look, and here are a few of our absolute favorites:
- Bumble and Bumble Styling Creme. Before you begin working on your bun hairstyle, you’ll want to make sure that your hair is prepped and ready to look its best. Use a drop of Bumble and Bumble Styling Creme before you blow-dry your hair to control flyaways as well as add volume and body to your updo.
- Kerastase VIP Spray. To help your hair maintain the ‘oomph!’ for longer, you’ll want to use the Kerastase VIP Spray before teasing. It’s an instant backcomb effect volume powder, which gives an updo visibly more volume.
- Andalou Naturals Sunflower & Citrus Hair Spray. What’s the fun in mastering a bun if it doesn’t stay in place? Finish off your bun hairstyle with this beautifully citrussy hair spray from Andalou Naturals. Not only will it give you the hold you’re after – but will give your locks the nourishment they deserve!
You really don’t need to be a stylist to master these trendy bun hairstyles – our step-by-step guidance will help you achieve these trendy updos in just a few minutes. They’re perfect for those who don’t have much time to play around, but love looking glam for hours.


