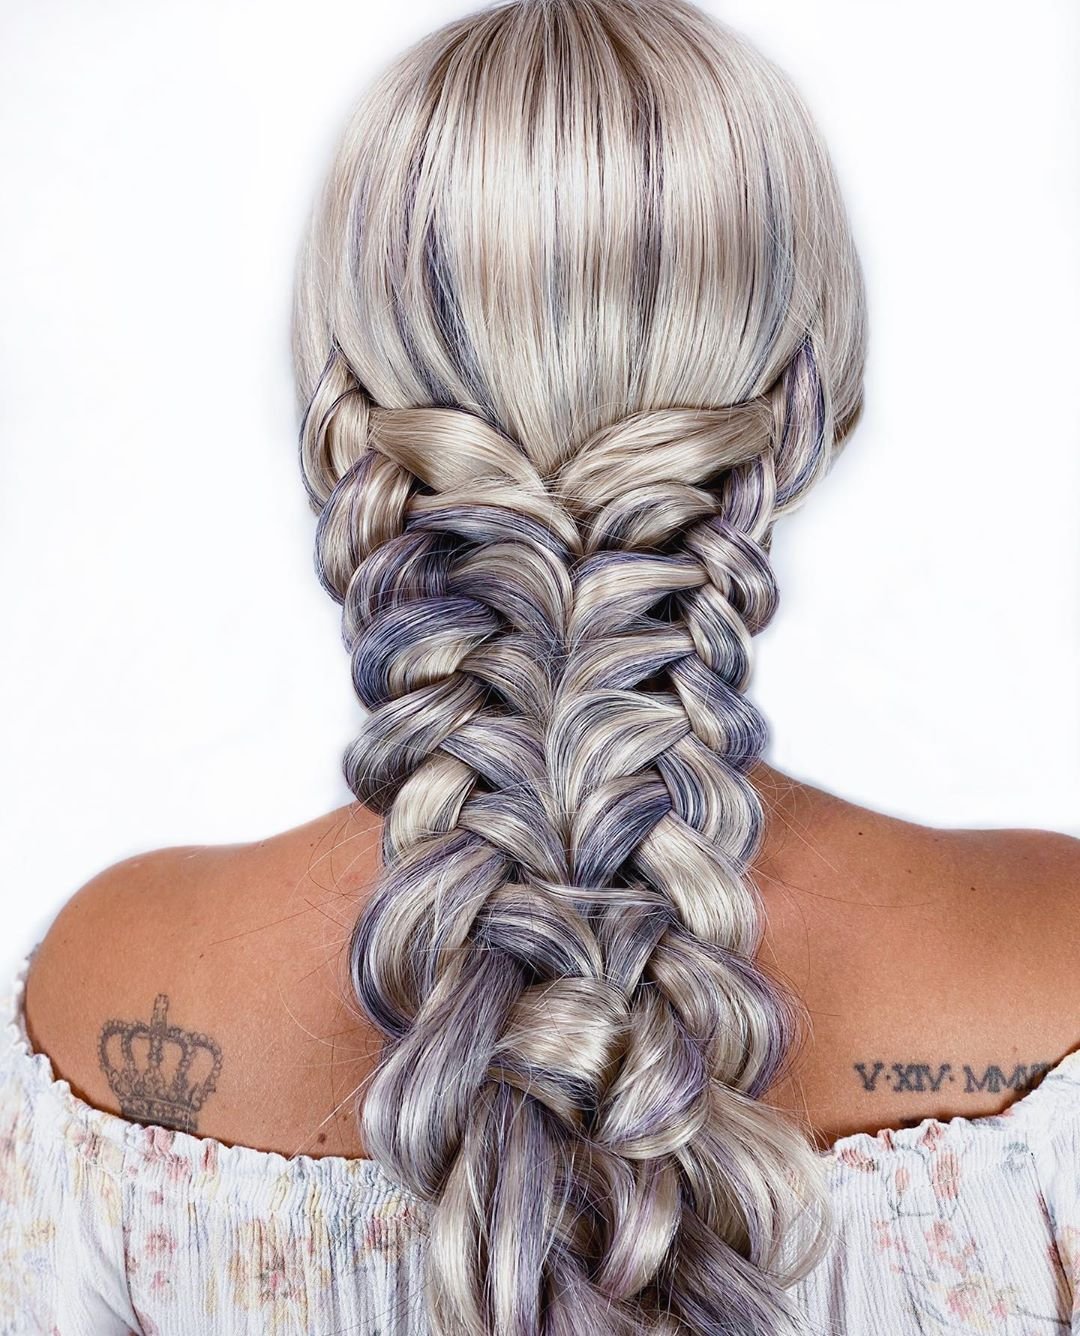
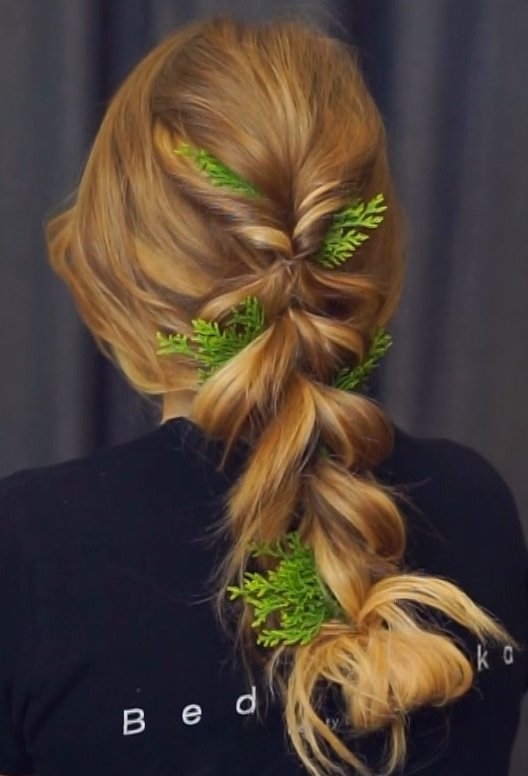
Are you agonizing over which hairstyle to wear for your big day? Not sure how to surprise everyone at the big party? Looking for the perfect prom hairstyle? Then, our waterfall braid tutorial is especially for you! We’ll show you how to look deadly terrific at any event, while spending only 10 minutes on your beautiful waterfall braid with curls!
Your Waterfall Braid Can Go from Work to Date
Any complicated hairstyle is time-consuming, and that is understandable. Sometimes you really can’t manage the style on your own. But, with our waterfall braid tutorial, this style will take only a few minutes.
Before you start doing your hair, think about your outfit. You can wear a floor-length dress or a formal suit, a light summer frock or something in a more comfortable style. It’s worth adding a small number of details, neutral colors or color blocking. With such a nice hairdo, you can go to any dressy function, head out for a fancy dinner or go out on a date.
Once you’ve created your braid, you can fancy it up with absolutely any type of accessories. Add real flowers or a hairpin with stones or pearls. Colored ribbons will suit the style perfectly. Try not to mix styles. Otherwise, you can have fun experimenting. Go with your gut, and focus on mood!
To create the waterfall braid, you’ll need to get some tools ready. Grab your favorite hairbrush, a dry texturizer for hair volume, medium- or high-fixation hairspray and some hair ornaments, if you want to use them. Now, let’s get started!
Step-By-Step Waterfall Braid Tutorial
Prepare all the accessories and hair products mentioned above, and let’s begin!
Step 1. Brush out your hair, as usual. Use a texturizer on the hair roots. Through this process, the hairstyle will look more voluminous and neat. Part your hair the way you like it.

Step 2. Separate a section of hair from the side and braid it. If you want to do a French braid, take the outer sections and cross them over the middle. The braid should be mostly focused toward the back and sides of your head. It’s a really cool and modern twist.

Step 3. Next, spray some hairspray on your hair. Take a section of hair and poke it through the braid. Keep going all the way down until there’s no hair left. So, at the very least, you should see how the braid goes in a diagonal versus straight or swooping around.

Step 4. Affix the hairstyle with the hairspray and curl the ends. You can also roll the ends and tuck them right underneath the braid behind the ear. Use bobby pins and secure the bottom.

Step 5. Here is the finished look. This waterfall braid should take you less than 10 minutes. Every time you wear this hairdo, people will ask you constantly how you did it. Hope you will like our passionate waterfall braid tutorial!

Don’t forget to watch the step-by-step instructions in our video:
If you liked our waterfall braid tutorial, and you would like more inspiration on how to transform your hair into beautiful, unique updos, subscribe to our Youtube Channel, follow on Instagram, and be the first to discover new and exciting hairstyles! You can also tag us on your personal Instagram if you decide to share your results.


